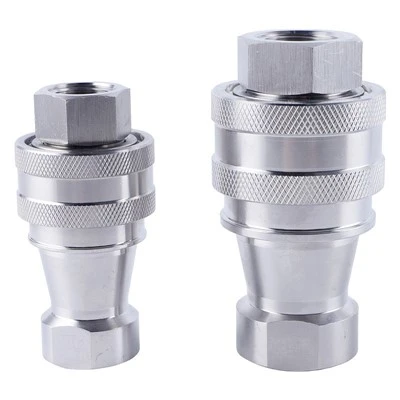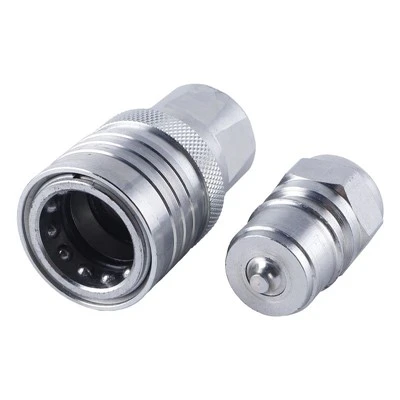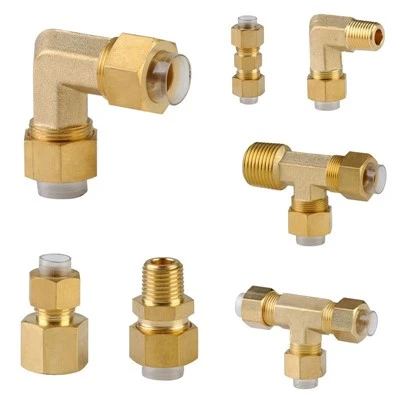


When you’ve spent years working as a supplier of nitto style hydraulic quick couplings, you learn that alignment isn’t just a technical detail—it’s the difference between a seamless, leak-free operation and a downtime headache that stalls an entire job site. I’ve seen too many installers skip the alignment step, thinking “it’s just a quick connect,” only to deal with pressure drops, fluid seepage, or even damaged coupling seats within hours of startup. Today, I’m breaking down the exact steps we share with every customer and partner to ensure proper alignment when installing nitto style hydraulic quick couplings, plus a few common mistakes we’ve helped clients fix over the years. We carry a range of nitto style couplings tailored to different industrial needs—from our durable stainless steel KZF line to corrosion-resistant brass KZD models and heavy-duty HSP couplings, all designed with precision alignment in mind—but even the best coupling won’t perform right if it’s installed wrong.
First, let’s ground this in why alignment matters for nitto style couplings specifically. Unlike some older coupling designs that rely on loose tolerances, nitto style quick couplings are engineered with tight, matched tolerances to create a positive seal when mated. The two halves—the plug (male) and socket (female)—have locking grooves that engage only when they’re perfectly centered; if they’re off by even a fraction of a millimeter, the seal can’t form fully, and the locking mechanism won’t seat correctly either. Misalignment also puts extra stress on the coupling’s poppet valves, leading to premature wear, cross-threading, or even crack propagation in the coupling body. For applications like agricultural equipment, construction machinery, or industrial fluid transfer where reliability is non-negotiable, taking the time to align correctly saves you from costly repairs and lost productivity.
Before you even pick up the coupling, start with pre-installation checks that set the stage for proper alignment. This is a step many installers rush through, but it’s critical. First, inspect both the plug and socket for any damage. Scratches on the sealing face of the plug, dents in the socket’s alignment collar, or worn locking pins will throw off alignment even if you get the connection right. For example, I once worked with a farming client who used our KZF SS304 Hydraulic Quick Couplings for their harvest equipment; they skipped inspecting the socket after a nearby metal pipe struck it, and when they mated the plug, the scratched seat created a leak that spilled hundreds of gallons of hydraulic fluid before they noticed. Next, confirm the thread size and pressure rating match both the coupling and the hydraulic lines. Mismatched threads can force the coupling out of alignment as you tighten the fittings, even if you think you’ve lined it up. We always send thread gauges with every order of our nitto style couplings, and we recommend using these to double-check before installation—small discrepancies here are easy to miss but cause big alignment issues.
Now, the actual alignment process: let’s walk through it step by step, tailored to nitto style couplings. First, position the socket and plug so they face each other directly, with no side-to-side or angular offset. A common trick we teach is to sight along the centerline of both components—if you can’t see the edge of the plug through the socket’s opening, you’re on the right track. Hold the socket in one hand and the plug in the other, keeping them parallel to each other at all times. Don’t force the mating at this stage; if the plug won’t slide into the socket easily, that’s a sign they’re misaligned. Instead, pull them apart and adjust the position of one or both components. For example, if the line with the socket is mounted to a rigid manifold, loosen the mounting bolts slightly to wiggle it into alignment before re-tightening. I always remind installers: forcing a misaligned connection is the fastest way to damage the coupling’s internal seals and locking mechanism.
Once the plug is inserted about halfway into the socket, check for lateral alignment by gently twisting each component side to side. If there’s no play and they rotate smoothly, that’s a good sign alignment is on target. Next, push the plug all the way into the socket until you hear the distinct “click” of the locking mechanism engaging. The click is non-negotiable—it means the locking pins have seated correctly in the nitto style’s grooves, which only happens when alignment is perfect. If you don’t hear the click, pull the plug back slightly, re-align, and try again. Don’t rely just on visual alignment here; the click confirms the physical lock is in place, which is your final check that alignment was correct during mating. After the click, test the connection by gently tugging on both ends of the lines—if they don’t pull apart, you’re set.
But alignment doesn’t stop at mating. After installation, a quick post-installation check will catch any hidden misalignment before it causes problems. This is especially important for couplings mounted to moving parts, like on construction equipment that vibrates heavily. Run a visual check of the coupling 10 minutes after initial startup, when the hydraulic fluid is at operating temperature—some components can expand slightly when warm, which might shift alignment. Look for any gaps between the plug and socket (they should be flush when properly aligned) or any seepage around the sealing area. For our HSP Hydraulic Quick Couplings, which are designed for high-vibration, heavy-load applications, we recommend tightening the mounting bolts one more time after the first hour of operation, as vibration can sometimes shift line alignment even after a good initial install. We also teach clients to use a soapy water solution sprayed on the connection when the system is pressurized—any misalignment that causes a leak will create bubbles, which are easy to spot before they become a bigger issue.
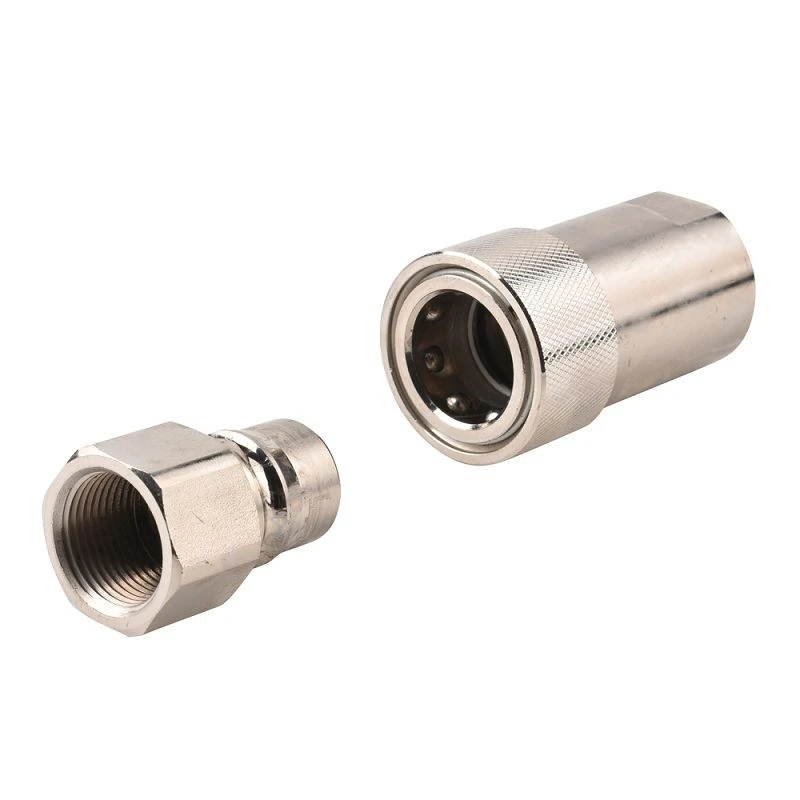
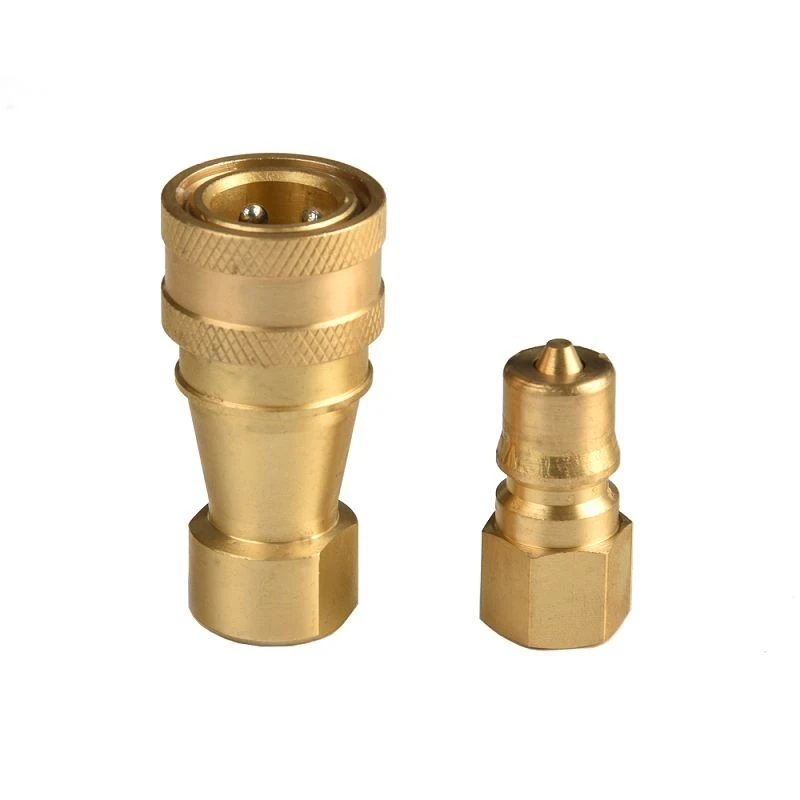
Over the years, we’ve noticed a few common alignment mistakes that catch our customers off guard. One big one is mounting the coupling at an angle to the line it’s connected to. For example, if you’re installing a socket to a pipe that’s bent at a 90-degree angle, don’t force the coupling to align with the bent pipe—use a flexible hose adapter to keep the coupling’s centerline parallel to the plug’s centerline. This might seem like an extra step, but it eliminates angular misalignment that’s hard to fix once the coupling is mated. Another mistake is using old, worn lines that have stretched or shifted. If your hydraulic lines are more than five years old, replace them before installing new nitto style couplings—stretched lines can pull the coupling out of alignment over time, even if you installed it correctly the first time. We also see installers mix and match coupling components from different brands, which is a no-go for nitto style couplings—even if the thread size matches, the alignment tolerances can differ, leading to poor seating. That’s why we always recommend using matching parts from our line, whether you need our KZF SS304 Hydraulic Quick Couplings for corrosive environments, our KZD Brass Hydraulic Quick Couplings for low-pressure, general use, or our HSP Hydraulic Quick Couplings for heavy industrial applications.
At the end of the day, proper alignment for nitto style hydraulic quick couplings is all about patience and attention to detail. It’s not a step you can skip or rush through, but taking the time to get it right means your coupling will perform reliably, last longer, and save you from the stress of unexpected downtime. If you have questions about aligning a specific nitto style coupling for your application, or if you’re looking for high-quality, precision-machined couplings for your next project, we’re here to help—our team has years of experience working with nitto style designs and can guide you through every step, from selection to installation. Don’t let misalignment turn your hydraulic system into a problem; reach out today to connect with our sales team to discuss your needs and find the right coupling for your operation.
References:
- Hydraulic Quick Coupling Installation and Maintenance Guidelines. Nitto Kohki Hydraulics Division, 2022.
- Engineering Specifications for Nitto Style Quick Connect Couplings. International Fluid Power Society, 2021.
- Common Failure Modes in Hydraulic Quick Couplings. Industrial Hydraulics Journal, Vol. 18, No. 3, 2020, pp. 45-52.
- Alignment Best Practices for Rigid Fluid Transfer Connections. Manufacturing Engineering Association, 2023.